Wall Preparation and Repair for Wallpaper-Ready Walls
Have you ever noticed how a tiny bump on a wall can completely ruin the look of a brand-new room?
We dedicate ourselves at Toronto Wallpaper Installation to providing premium wallpapering solutions that combine professional craftsmanship with exceptional customer care. Proper Wall Preparation & Repair is the actual secret behind a stunning, flawless finish.
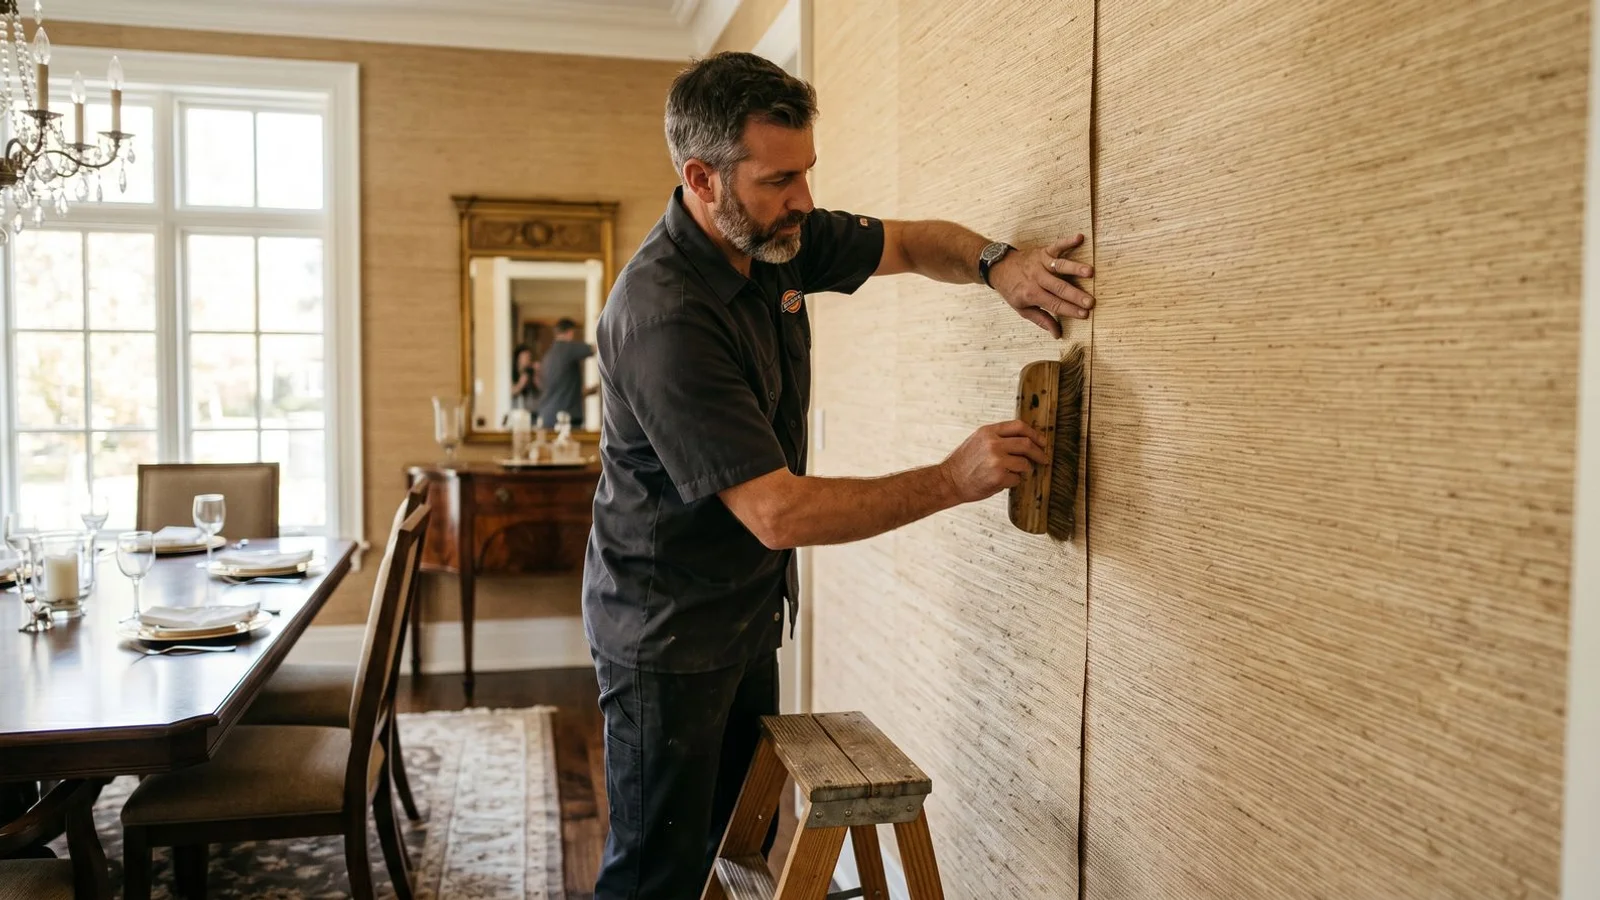
Our crew often walks into rooms where gorgeous Phillip Jeffries grasscloth at $400 a roll is showing every single drywall ridge underneath. Homeowners naturally blame the paper, but the real issue is usually hidden beneath the surface. We know the paper was fine, but the wall simply was not ready.
Let me walk you through the exact steps to get your walls perfectly smooth. We regularly handle DIY removal recovery, heritage substrate work, and heavy texture removal. These issues have to go before any new paper goes up.
What Is Wall Preparation for Wallpaper in Toronto?
Wall preparation for wallpaper in Toronto, also called skim coating Toronto, wallpaper wall repair, or substrate prep, is the process of restoring a wall to a smooth, primed, wallpaper-ready surface. Most jobs include patching, full-wall Level 5 skim coating, sanding, and substrate-matched primer application. We use Zinsser Gardz to seal torn drywall paper after DIY removals, fiberglass mesh tape for plaster crack stabilization, and Roman PRO-977 or PVA primer matched to the chosen paper.
How Much Does Wall Prep for Wallpaper Cost in Toronto?
Wall prep labour in Toronto runs $1.50 to $3 per square foot depending on damage severity. Light spot patching averages $150 to $400 per room. Full-wall skim coats run $400 to $1,200 per room. DIY removal recovery (torn paper face, gouges, residual adhesive) typically requires a full-wall skim and costs $600 to $1,500 per room. We quote prep upfront with the install so you see the full number before work starts.
Skim Coating Toronto: Heritage and Modern Substrates
We work across the full GTA substrate range. Plaster-and-lath in Rosedale and Forest Hill heritage homes. Modern drywall in Mississauga, Brampton, and Aurora subdivisions. Heritage plaster in Mill Pond, the Kingsway, and Mimico. Each substrate calls for a specific prep approach: stabilising plaster cracks before any compound, sanding gloss paint before priming, and feathering skim coats around original mouldings.
What’s Included
Our team bundles this essential prep with the installation when it is all part of the same project. A proper foundation requires the right techniques and premium materials. We include a comprehensive set of services to make sure your space is absolutely perfect.
Here is exactly what you can expect when booking a prep session:
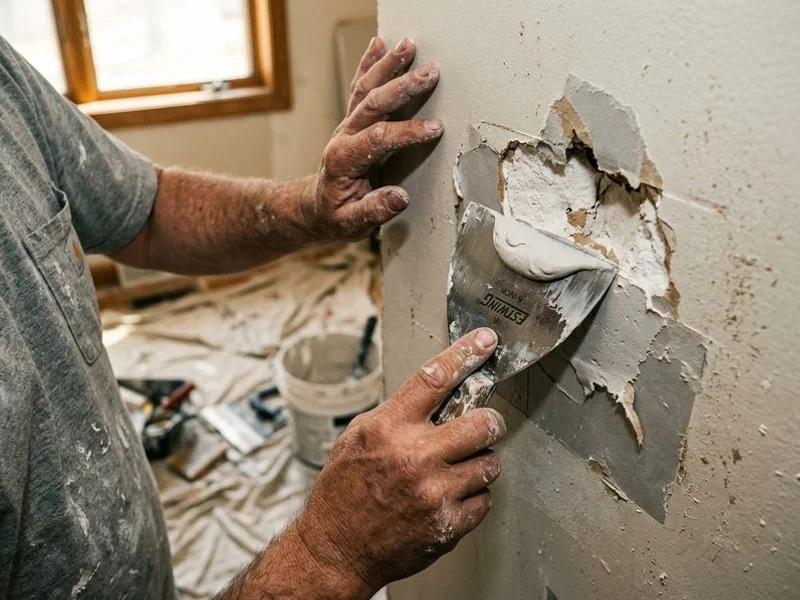
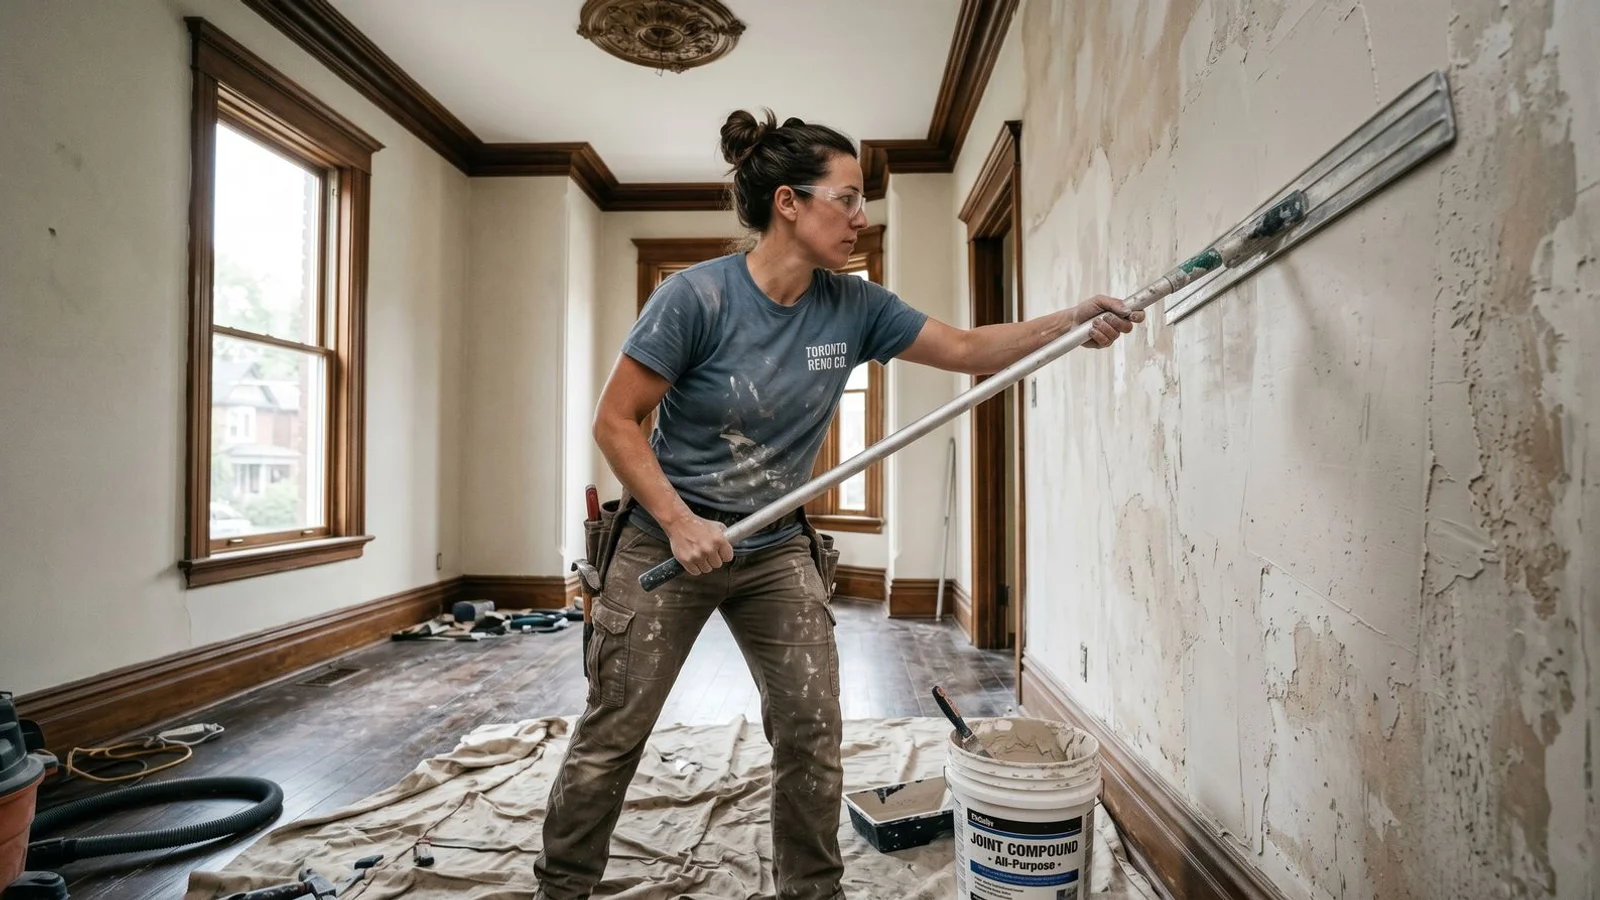
- Full-wall Level 5 skim coat or targeted patch and skim, depending on the severity of the damage.
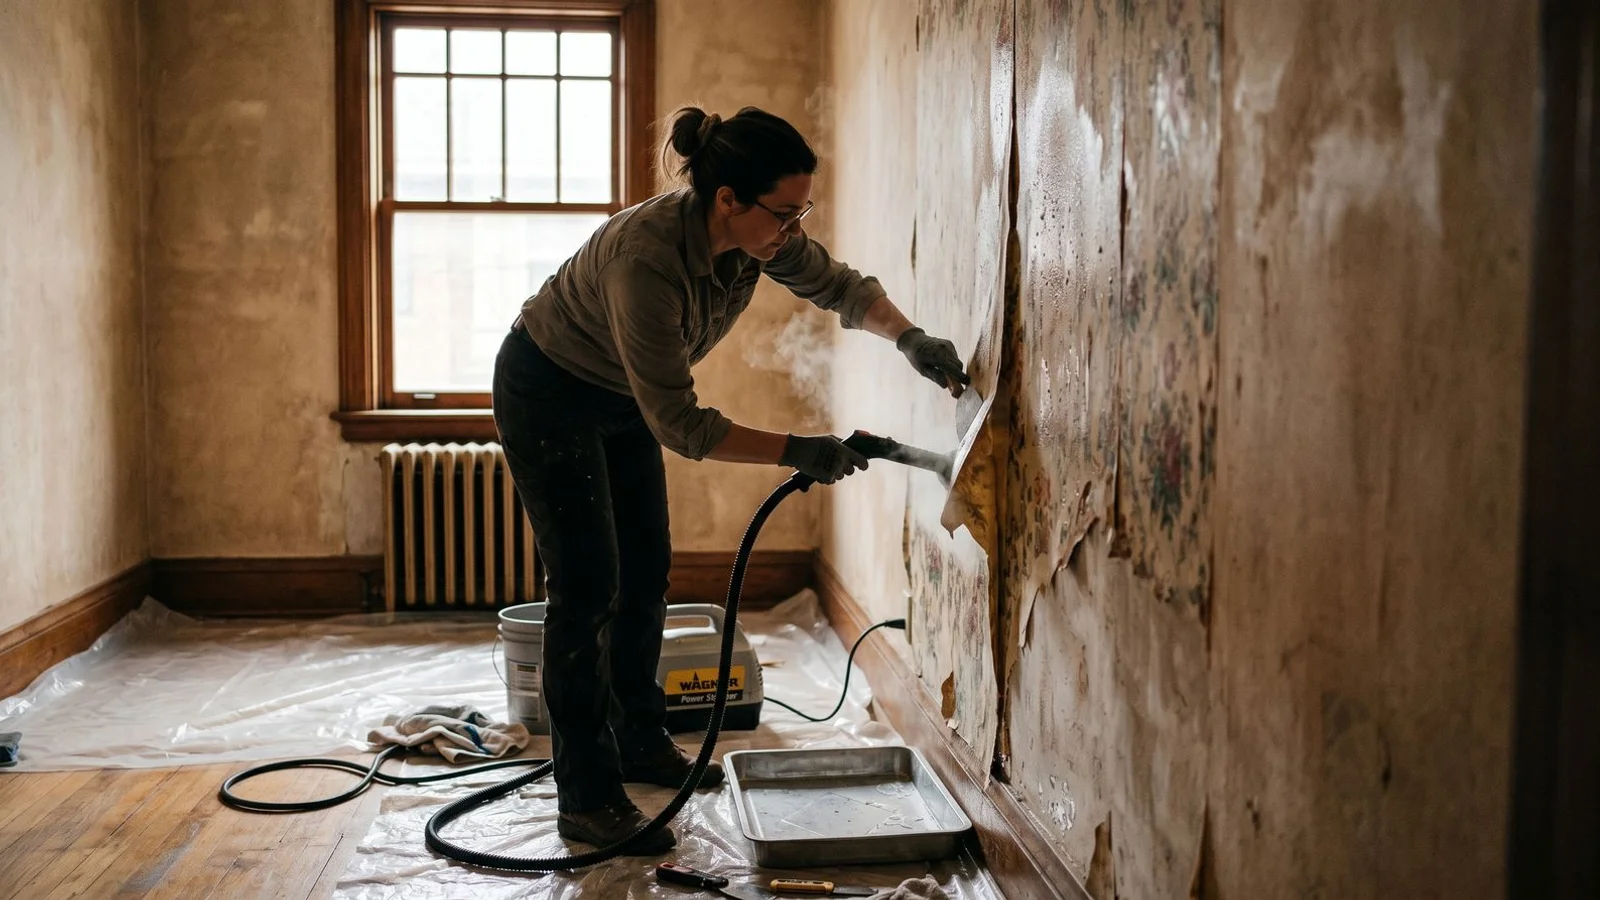
- Drywall paper-face repair and sealing using Zinsser Gardz to lock down torn paper after botched DIY removals.
- Precision sanding and feathering for completely invisible patches.
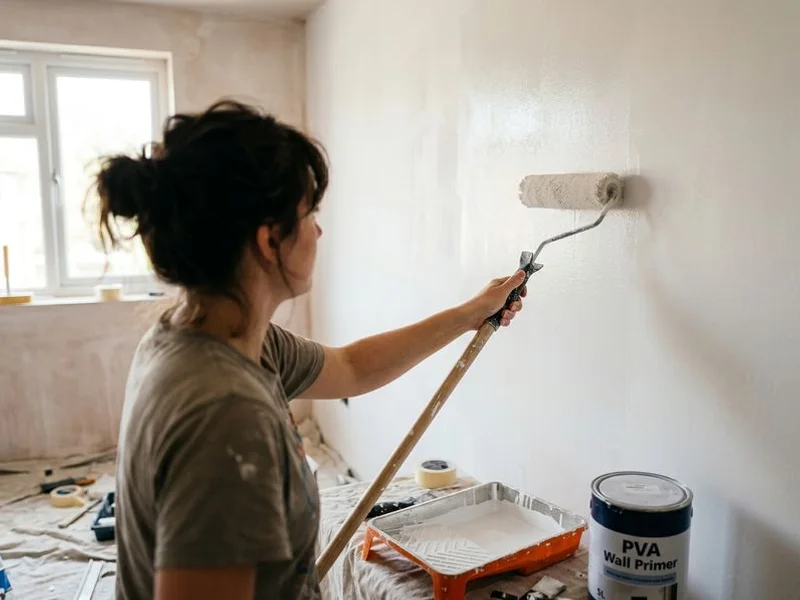
- Specialised PVA and oil-based primer selection, like Roman PRO-977, matched to your paper type and future removability needs.
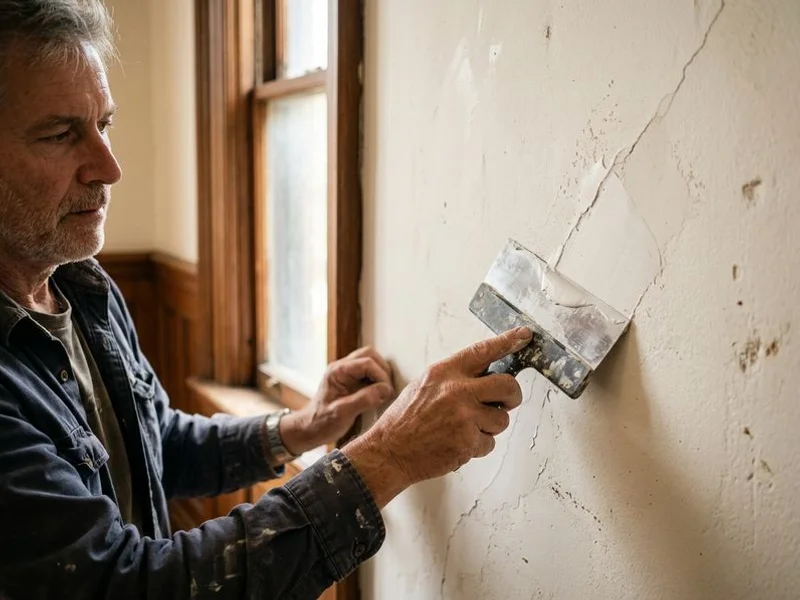
- Plaster crack stabilization using fiberglass mesh tape for older Toronto and Rosedale homes.
- Bundled with install or provided as a standalone service, giving you complete flexibility.
Substrate Scenarios We Handle
DIY removal recovery always starts with a thorough assessment. We carefully look at the gouges, the torn paper face, and the residual adhesive before deciding on a plan. A quick patch might seem tempting, but a full-wall skim coat is usually the smartest choice.
“Skipping a full skim coat after a botched DIY removal is the number one reason homeowners see patch lines telegraphing through expensive new wallpaper.”
Our team knows that handing off a perfectly flat canvas requires skimming, sanding, and priming the wall until it is completely clean. These beautiful Rosedale Victorians, Edwardians, and Forest Hill estates built from the 1910s through the 1950s typically feature plaster over lath. We treat heritage Toronto homes with a completely different set of specialised techniques.
Here is a quick look at how specific conditions dictate the prep strategy:
| Wall Condition | The Hidden Risk | Our Prep Solution |
|---|---|---|
| Torn Drywall Paper | Moisture causes the exposed brown paper to bubble and peel. | Seal with Zinsser Gardz, then patch and sand flat. |
| Heritage Plaster Cracks | Seasonal humidity changes cause the paper seams to split open. | Apply fiberglass mesh tape, stabilize, and skim coat. |
| Heavy Wall Texture | Bumps and ridges telegraph directly through delicate luxury paper. | Apply a full Level 5 skim coat for a mathematically flat surface. |
Our specialists know that hairline cracks will open and close with Toronto’s seasonal humidity shifts. A stiff paper bridging one of these cracks will eventually fail at the seam. We stabilize these historical walls with flexible reinforcement mesh before applying an appropriate skim coat.
“Original trim pieces like wainscoting, thick baseboards, and ceiling medallions require a strict conservation-aware approach to preserve their historical value.”
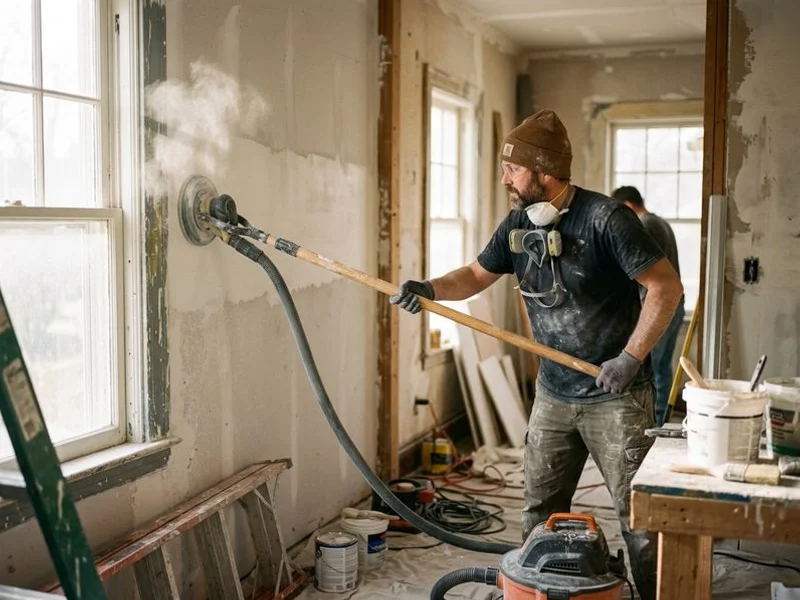
Our artisans always feather the compound around the trim profile and never overwrite the historical details. Texture removal is easily the most labor-intensive prep requirement you will encounter. We execute a strict process for heavily textured walls to guarantee a flawless finish:
- Assessment: Identifying if the texture is knock-down, orange-peel, or a heavy-roll finish.
- Skim-Coating: Applying joint compound over the entire wall surface to fill every valley.
- Sanding: Taking the finish down to grade for a smooth, flat surface.
- Priming: Sealing the new compound strictly to manufacturer specifications.
That bumpy texture will show through your beautiful new finish immediately if these steps are skipped. We understand that Grasscloth, silk, and hand-printed papers demand a substrate that is mathematically flat. The final preparation specifications must match the paper, r